
Last updated November 17, 2026
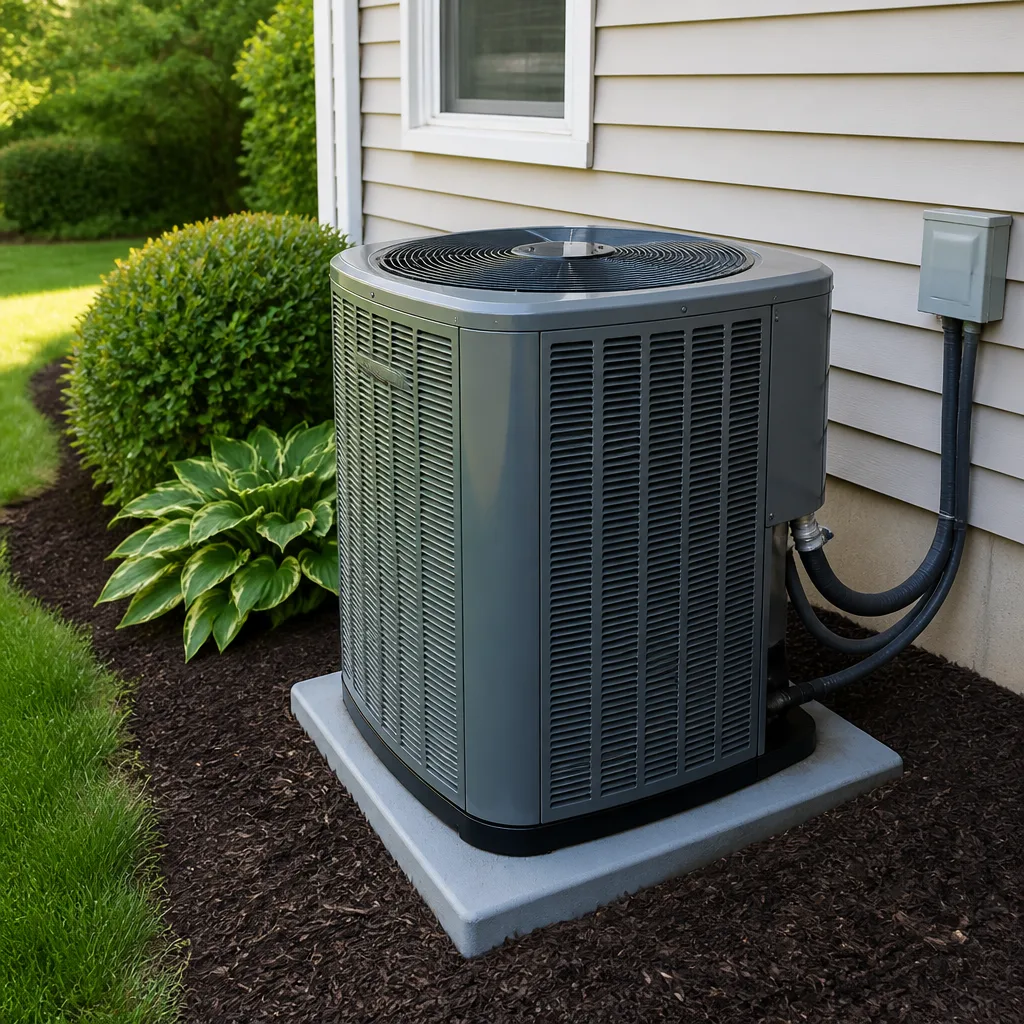 AC repair
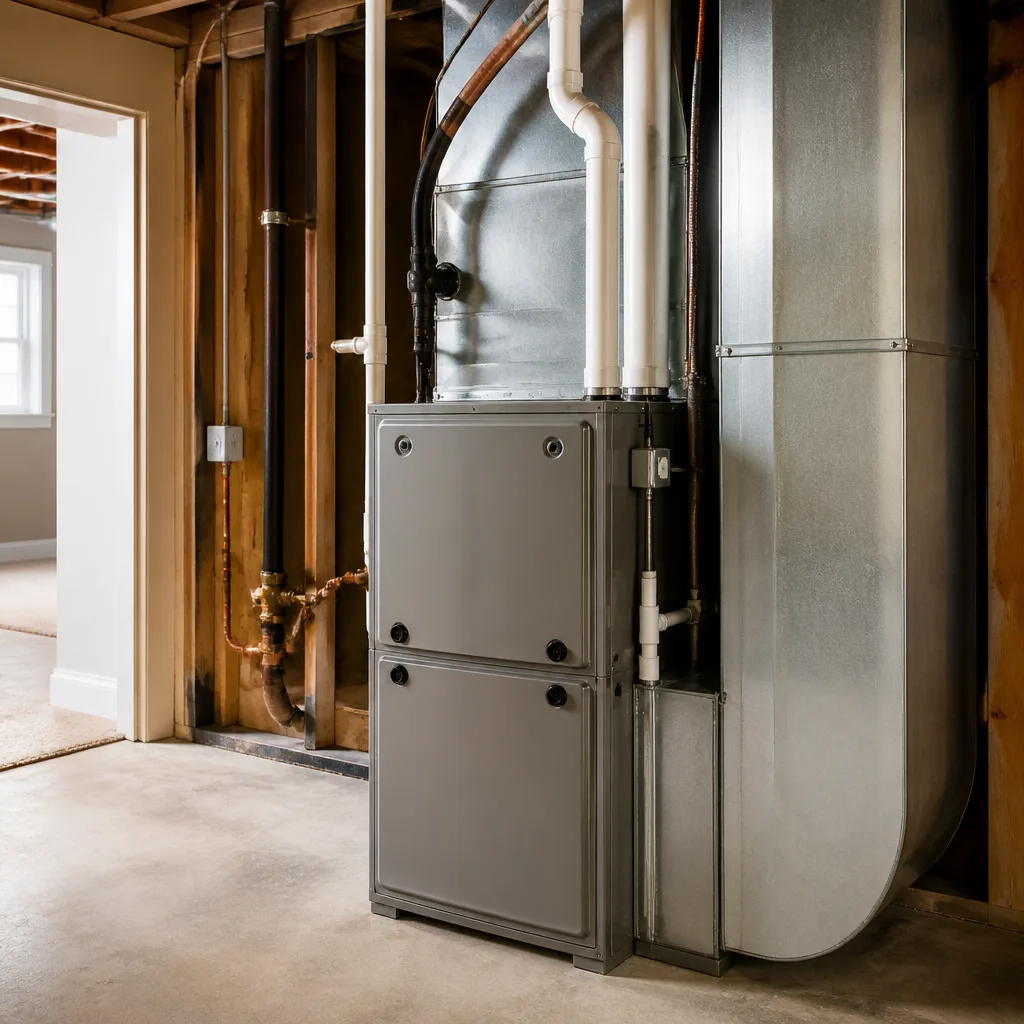 Furnace & heating
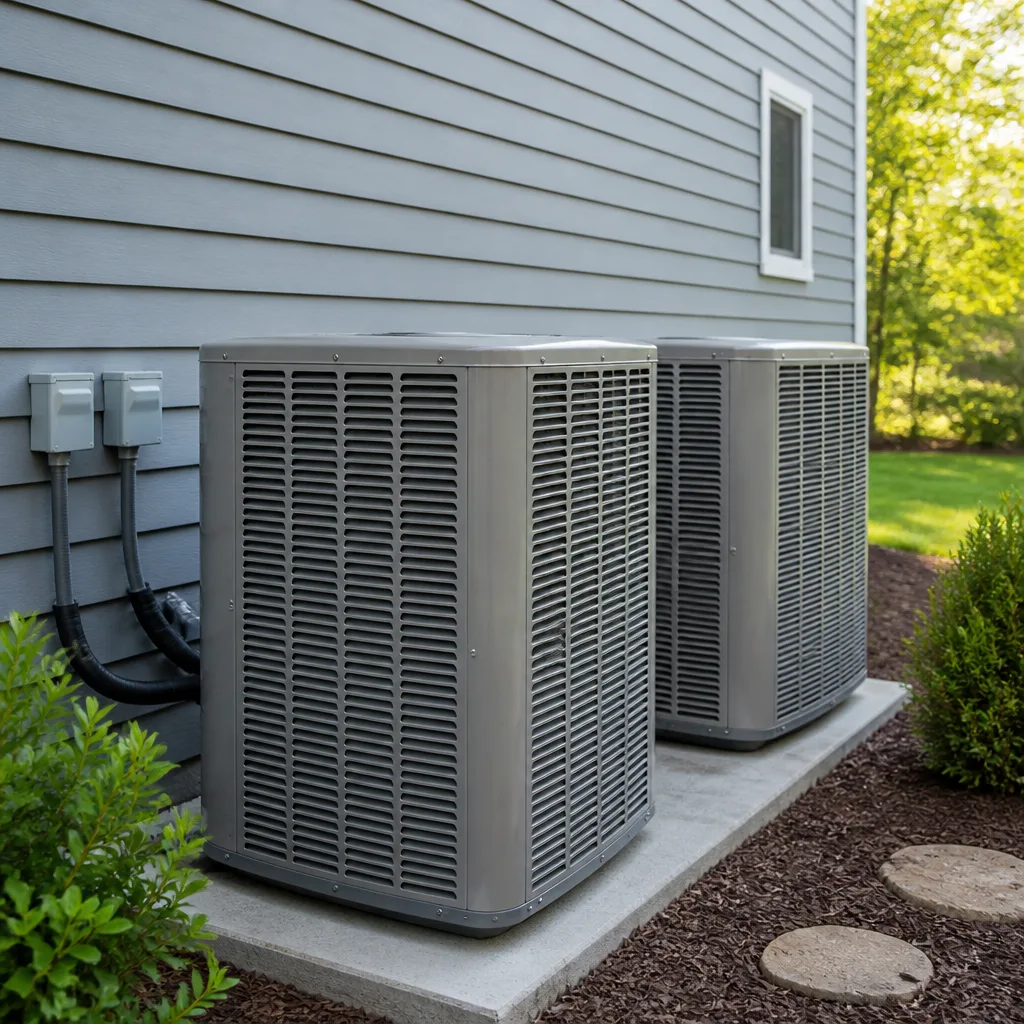 Heat pumps
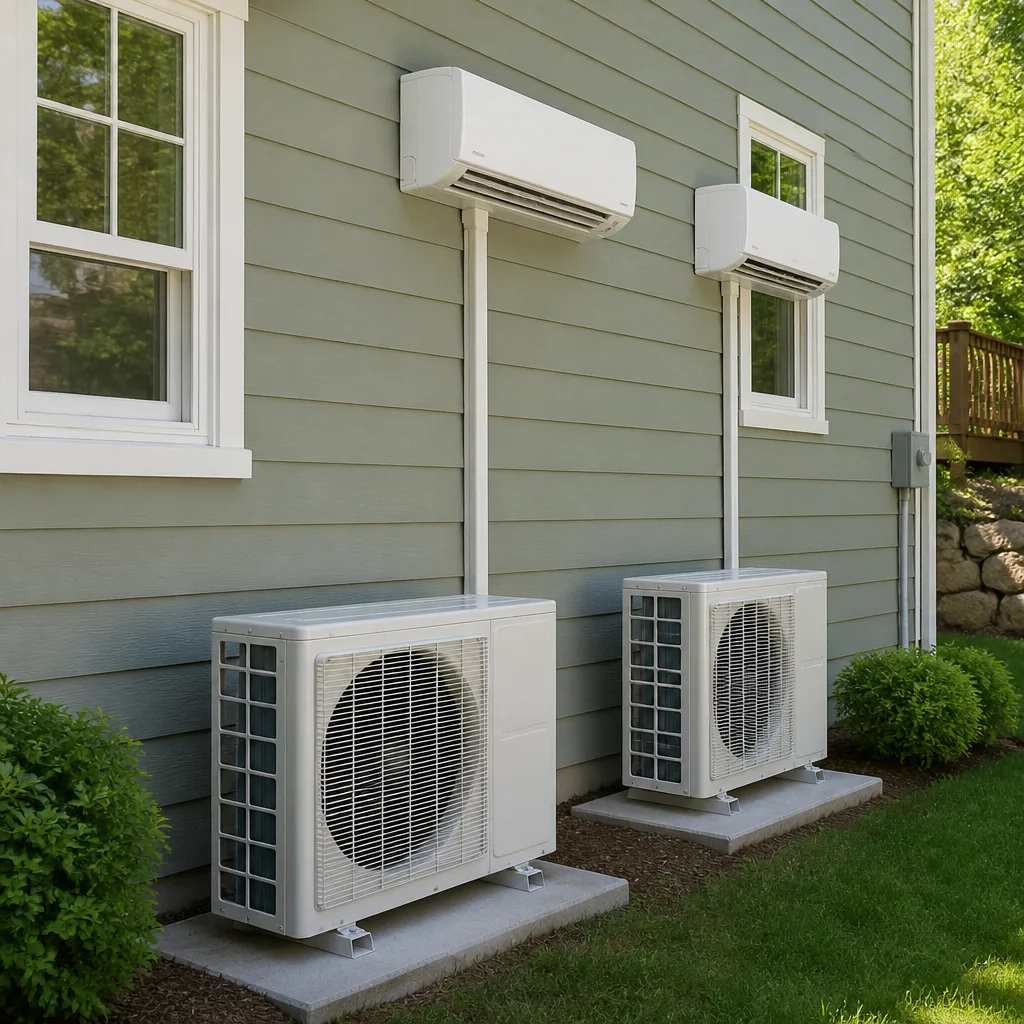 Ductless mini splits
 Carrier
 Trane
 Goodman
Seasonal tune-up and full diagnostic on your Carrier, Trane, or Goodman system - readings shown to you before any repair is proposed
Diagnosis first, numbers second - you approve the repair price before a single part goes in.
Get your free estimateAC Installation Troubleshooting: Common Problems and How to Fix Them
About 23% of new AC systems underperform in year one, and the unit is rarely the reason. In our experience across Sunrise Manor, the trouble almost always traces back to four installation errors that stay invisible until your first full summer: a refrigerant charge that was never dialed in, ductwork too small for the new equipment, thermostat wiring set up for the wrong system type, and airflow that was never measured after the swap. Three of those you can check yourself with no tools at all. This guide walks you through what to look for in the first 72 hours after installation, which readings should be on your paperwork, how to document a problem so your contractor pays for the return trip instead of you, and how a written guarantee protects you when the install wasn’t done right the first time.
Quick Answer
If your new AC isn’t cooling properly after installation, the cause is usually one of three things: an incorrect refrigerant charge, ductwork that’s undersized for the new unit, or thermostat wiring that’s wrong for a heat pump system. Check the temperature difference between a supply vent and your return air – a healthy system shows roughly 16 to 22°F. Anything under 15°F or over 24°F within the first 72 hours is worth a callback.
Styles & brands we work with
- AC repair
- Furnace & heating
- Heat pumps
- Ductless mini splits
- Carrier
- Trane
- Goodman
Table of Contents
- The First 72 Hours: Your Post-Installation Performance Check
- Problem 1: Incorrect Refrigerant Charge
- Problem 2: Undersized Ductwork Left From the Old System
- Problem 3: Wrong Thermostat Wiring on Heat Pumps
- What Before-and-After Photos Should Actually Show
- How to Call Back a Contractor: Poor Performance vs. Failed Install
- The 365-Day Done Right Promise and Your Paper Trail
- Common Mistakes to Avoid
The First 72 Hours: Your Post-Installation Performance Check
The window right after installation is when you have the most leverage and the clearest evidence. Run this check yourself before the crew’s paperwork gets buried in a drawer.
- Set the thermostat to 72°F and let the system run for 30 minutes. No opening doors or windows during that window. You want the house to settle.
- Measure the temperature difference. A cheap digital thermometer at a supply vent near the air handler, then at the return grille. That spread is your delta-T. A Trane or Lennox system properly charged should land between 16 and 22°F.
- Write the number down with the date and time. This is the first entry in your accountability trail.
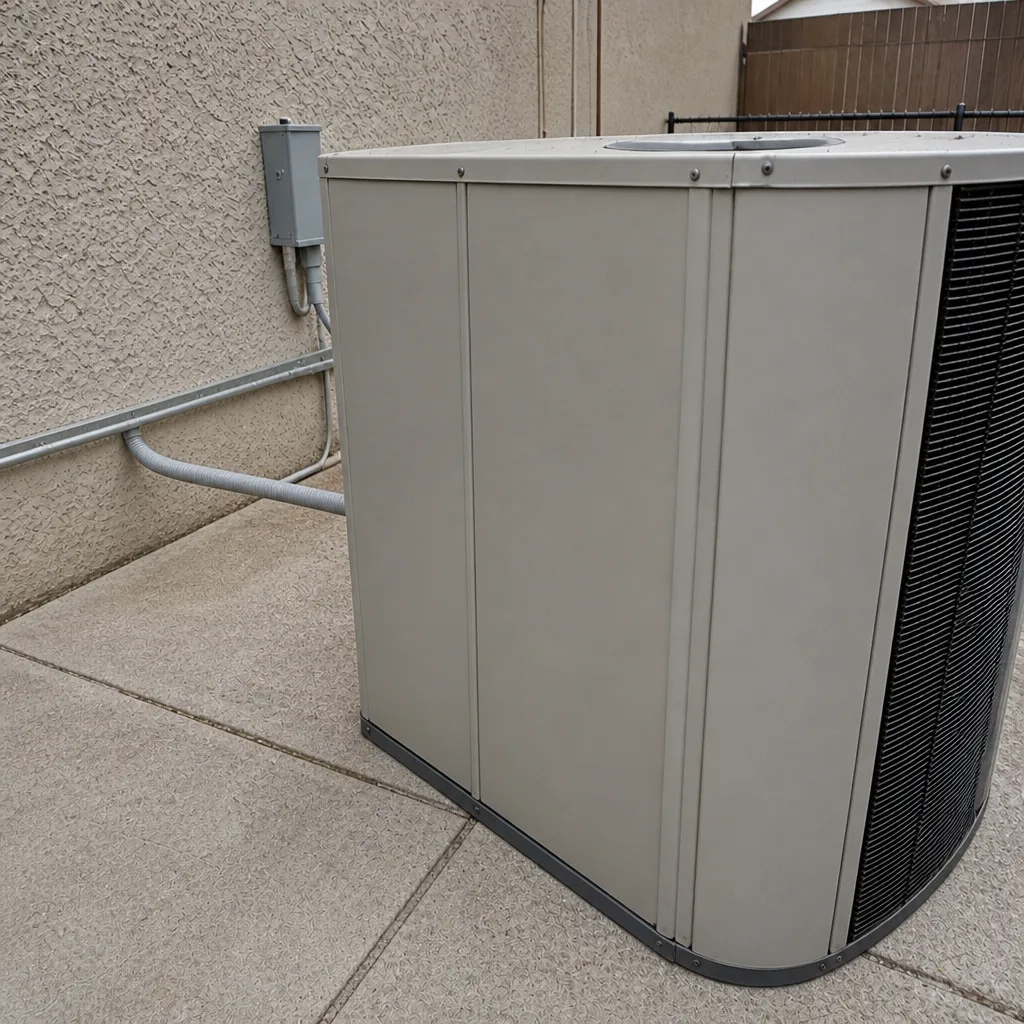
- Listen at the outdoor condenser. It should run smoothly. Buzzing, hard starts, or a compressor that kicks on and off every few minutes points to an electrical or charge problem.
- Feel the air at every register in the house. Weak airflow at the rooms farthest from the air handler is the classic signature of undersized ducts.
- Check the condensate drain for water. In Sunrise Manor, a clogged drain line backed up by monsoon-season humidity is one of the most common first-month callbacks.
If the delta-T is under 15°F, the system is likely undercharged. Over 24°F means restricted airflow, often a duct or filter problem. Both are worth calling about before the end of week one.
Problem 1: Incorrect Refrigerant Charge
An incorrect refrigerant charge (the amount of coolant in your system) is the single most common post-installation failure we see. Modern systems are charged by weight at the factory for a fixed line set length. When a crew runs a longer line set than the standard, they have to add refrigerant based on the manufacturer’s chart – and that step is where rushed installs cut corners.
In Sunrise Manor, the summer heat makes this worse. A system that’s 10% undercharged might cool okay in April but fall flat by June, when outdoor temps hit 110°F. The unit runs longer, the compressor works harder, and the indoor temp creeps up two or three degrees above setpoint. You won’t notice it in the first week. You’ll notice it the first week it really matters.
What to look for:
- The system runs constantly but never quite reaches setpoint on hot days.
- Cool air at the vents but not cold air – often 5 to 8°F weaker than it should be.
- Ice forming on the outdoor refrigerant line (a sign of a serious undercharge or restriction).
- Higher-than-expected power bills in the first month.
How it’s fixed: a technician recovers the system, weighs in the correct charge per the manufacturer’s spec for your exact line set, and dates the reading on the invoice. This isn’t a repair – it’s finishing the installation properly. Any contractor running a new Goodman or Rheem system should leave those charge readings in writing.
Problem 2: Undersized Ductwork Left From the Old System
Here’s the trap: a homeowner replaces a 2-ton unit with a 3-ton unit to get more cooling, and the crew reuses the existing ductwork because it’s “close enough.” It isn’t. The old ducts were sized for the old tonnage. Push 50% more air through them and static pressure climbs, the blower works harder, and the far rooms get less air than they did before.
We see this constantly in Sunrise Manor’s older ranch homes, where the original ductwork was built for a smaller unit decades ago. The new equipment gets blamed. The ducts are the actual culprit.
Signs your ducts are undersized:
- Strong airflow at vents near the air handler, weak at the far end of the house.
- Whistling or roaring noise at registers when the system runs.
- Rooms that stay 4 to 6°F warmer than the thermostat setting.
- Delta-T over 24°F (the airflow restriction shows up as a big temperature spread).
A proper installation includes a Manual D calculation (the industry standard for sizing ductwork to a specific system) and, ideally, a static pressure reading recorded after the install. If your contractor can’t produce either, ask why. A retrofit with a new duct run for the worst rooms usually runs $1,200 to $3,500 in this market, depending on how much has to be replaced.
Problem 3: Wrong Thermostat Wiring on Heat Pumps
Heat pump systems and conventional gas furnaces use different thermostat wiring. On a heat pump, the wire that tells the system “heat” on a gas setup tells it something else entirely – which can mean the reversing valve (the part that switches the system between heating and cooling) never gets the signal it needs, or the auxiliary heat strip kicks on during a cooling call.
The symptoms are strange. The system cools, then stops. It blows warm air occasionally in the middle of summer. The thermostat reads “aux heat” during cool mode. Or it works fine for two hours and then the compressor shuts off on a safety, because the indoor coil iced over from running in the wrong mode.
What you can check without tools:
- Open the thermostat app or display and confirm it’s set for “heat pump” mode, not “gas furnace.”
- Watch the system through one full cooling cycle. The reversing valve should switch once and stay put.
- Feel the air at a supply vent during a cooling call. If it’s ever warm for more than 30 seconds, wiring is likely the reason.
This is a wiring problem, not an equipment problem. A ten-minute correction at the thermostat or air handler fixes it, and it should be covered under the install warranty. We handle a fair number of these in Sunrise Manor, and it’s almost always something a second-opinion tech catches in minutes.
What Before-and-After Photos Should Actually Show
Photos are how you turn a verbal promise into evidence. A good installation record isn’t decorative house shots. It’s the diagnostics.
Ask for these five images, and if your contractor didn’t volunteer them, ask directly:
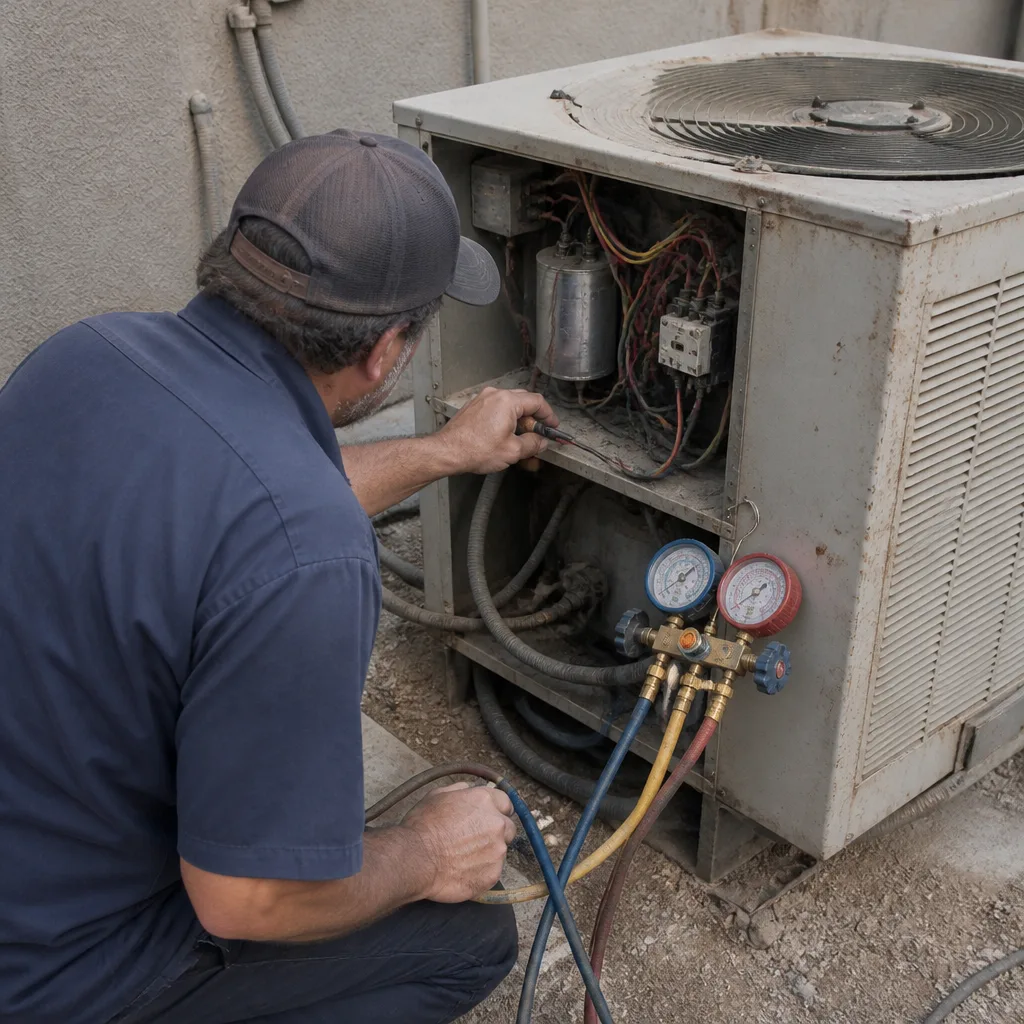
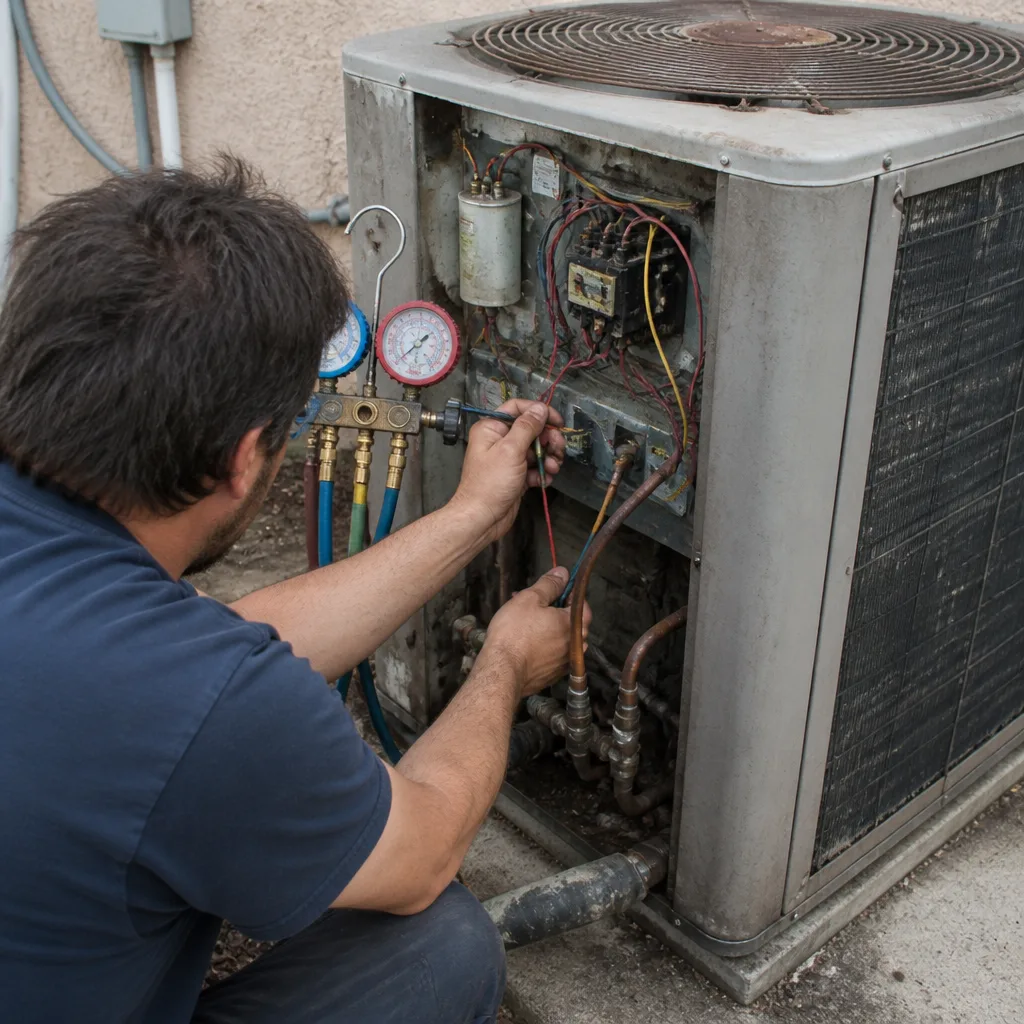
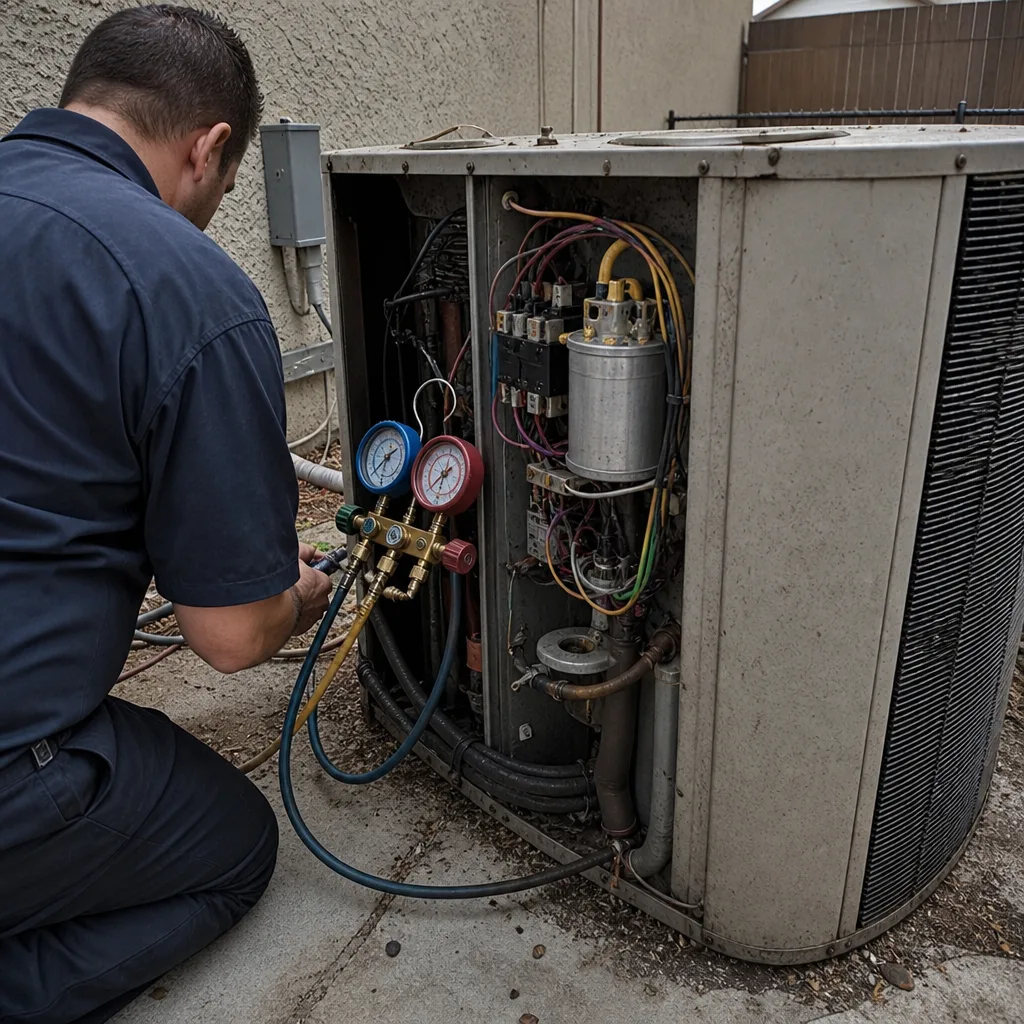
- Refrigerant charge readings on the gauges – a photo of the manifold with the suction and liquid line pressures visible, plus a note of the outdoor temp at the time.
- Electrical connections at the air handler – the terminal strip with the wiring labeled, so you can verify the thermostat wires were landed correctly.
- Duct sealing before and after – the mastic or foil tape applied to the joints, not just new ducts sitting in a crawlspace.
- The filter and coil after install – a clean coil and correct filter in place.
- Delta-T and static pressure on the final commissioning sheet – the numbers that prove the system was actually tested, not just turned on.
Ask for these on the day of install, not in a follow-up email two weeks later. The best time to get the photo evidence is before the crew packs up.
How to Call Back a Contractor: Poor Performance vs. Failed Install
The difference between “poor performance” and “failed install” matters for who pays the diagnostic fee, and the language you use determines which one you’re in.
Poor performance means the system is running but not meeting the numbers. It cools, but the delta-T is 12°F instead of 18°F. One room stays warm. These are commissioning issues – they should be covered by the installation warranty, and the diagnostic is usually free if the contractor did their job right.
Failed install means the system doesn’t cool at all, trips the breaker, ices over, or leaks refrigerant. These are hard failures. They’re unambiguously the installation’s responsibility.
What to say on the phone for poor performance:
“The system was installed on [date]. I’m tracking a delta-T of 12°F at the supply-to-return spread, which is below the 16-to-22°F range for our climate. I’d like a technician out to re-verify the refrigerant charge and the airflow. Please confirm the diagnostic is covered under the installation warranty.”
For a failed install:
“The system was installed on [date] and isn’t cooling at all. It’s [describe what’s happening – tripping breaker, ice on the line, no cold air]. I’d like to schedule a return visit under the installation warranty at no charge.”
Document the call. Date, time, who you spoke with, what was promised. If the contractor sends a different crew and the diagnostic turns into “it’s the equipment,” you have a clean record to point back to.
The 365-Day Done Right Promise and Your Paper Trail
The hardest part of holding a contractor accountable is proving what the original installation looked like. Nobody wants to argue about whether the refrigerant charge was correct in July when you’re standing in the driveway in August. That’s where a written guarantee with a paper trail does real work.
The 365-Day Done Right Promise is a full year of accountability on every completed job. For a new installation, that means:
- A written price before work begins, so the scope is fixed in writing.
- A written guarantee, included with the job rather than sold as an add-on.
- Commissioning photos and readings delivered with the invoice.
- A free second visit if the repair fails, with no argument about whether the original work was done right.
What this does for you as a homeowner: you don’t have to remember which tech ran the charge, or dig up the gauge photo a year later. The paperwork you saved on install day is the same paperwork the crew uses on the callback. If your contractor didn’t leave that documentation, ask for it. On a system this expensive, it’s not a big ask – and any contractor confident in their work will hand it over without blinking.
Common Mistakes to Avoid
- Accepting “it’ll cool better once the weather heats up” as an answer. A properly commissioned system shows its numbers on day one, not in July. Get the delta-T reading before the crew leaves, no exceptions.
- Not reading the commissioning sheet. The sheet should list refrigerant charge, static pressure, and delta-T. If any of them are blank, the install wasn’t finished. This happens more than homeowners expect in Sunrise Manor’s faster-turnaround summer installs.
- Running the system before the filter’s in. Construction dust and drywall particles during a remodel can clog a filter in a week and mimic a refrigerant problem. Change the filter at 30 days, then on the normal cycle.
- Ignoring the ductwork reuse warning. If you upsized tonnage, do not let the contractor reuse old ducts without a Manual D calculation. The savings on installation get eaten by a compressor that dies early.
- Skipping the 72-hour check. Everyone wants the install to be done and the house cool on day one. The check takes 20 minutes and it either confirms the install was clean or catches a problem while the crew’s warranty is fresh.
- Verbal callbacks only. Every callback should go out by phone followed by an email or text summary. If it isn’t in writing, it didn’t happen when you need to pull the record a year later.
- Treating a repair guarantee as an installation guarantee. A repair guarantee covers the specific repair. An installation warranty covers commissioning, refrigerant charge, and duct sizing. Make sure you have the second one in writing.
See the difference
 Before
 After
 Before
 After
 Before
 After
When to Call a Professional
Some problems are homeowner-fixable: a thermostat mode setting, a filter, a clogged condensate line at the exterior. Others aren’t, and trying to fix them yourself can void the manufacturer warranty on a system you just paid thousands for. Call a professional for any of these:
- Refrigerant charge or line-set work – this involves pressurized refrigerant and EPA-certified handling.
- Any electrical panel or wiring correction at the air handler.
- Reversing valve diagnosis on a heat pump system.
- Ductwork resizing, sealing, or replacement.
- Compressor or blower motor failures.
Halden Heating & Air Sunrise Manor offers free estimates in Sunrise Manor – call (833) 892-8106. Every repair comes with a written guarantee, and our technicians are certified to service Carrier, Trane, Lennox, Goodman, Rheem, York, Daikin, Bryant, and American Standard systems.
Frequently Asked Questions
A properly installed and commissioned system on a hot Sunrise Manor afternoon usually brings the house down 10 to 15°F in the first hour and reaches the thermostat setpoint within two to three hours from a warm start. If it’s still 6°F above setpoint at the end of day two, something’s wrong. Call for a diagnostic and reference the delta-T reading you took at install.
Probably not broken – probably undercharged or airflow-limited. The two most common causes on a new install are a refrigerant charge that wasn’t adjusted for the line-set length and ductwork that’s too small for the new tonnage. Both are commissioning issues, both are covered under a proper installation warranty. Call (833) 892-8106 for a diagnostic with a written price before any work starts.
Delta-T is the temperature difference between the air going into your return and the cooled air coming out of a supply vent. A healthy system in Sunrise Manor’s climate should read 16 to 22°F. Under 15°F points to an undercharge. Over 24°F points to restricted airflow. Either way, take the reading at 30 minutes of run time and writing it down is your first piece of leverage if the install has problems.
Yes, and sooner is better. “Working but weak” in the first 30 days is the easiest problem to fix, because the installation warranty is in full effect and the crew hasn’t moved on to other jobs. Call (833) 892-8106 with your delta-T reading and the install date. The diagnostic is usually free when the problem traces back to the install itself.
Look for three pieces of paper with the invoice: refrigerant charge readings from the gauges, a static pressure reading from the air handler, and a delta-T reading from a supply-to-return measurement. Those three numbers, dated and signed, are the proof of a correct install. If your contractor didn’t leave them, ask. Any contractor whose work was done right will have those numbers already.
A complete failure in the first 12 months is on the installer, not you. Call (833) 892-8106 – Halden Heating & Air Sunrise Manor sends background-checked, uniformed technicians with a live arrival time you can track, and every repair comes with a written guarantee and a free second visit if the repair fails. If your system was installed recently and is underperforming, we’ll diagnose it and give you a written price before any work starts. If it turns out the original install was the cause, we’ll tell you that in writing too – the estimate is free.
The Bottom Line
Most new-AC problems in Sunrise Manor aren’t defective units – they’re installation errors that show up in the first 30 days and stay hidden until summer heat finds them. You have three numbers to watch for: delta-T between 16 and 22°F, static pressure in the manufacturer’s range, and a dated refrigerant charge reading. Take those numbers on install day, save the commissioning photos, and keep the written guarantee in the drawer with the invoice. When something feels off, call the contractor with a specific reading and specific language – not “it doesn’t feel right.” A proper installation warranty and a 365-Day Done Right Promise mean the contractor pays for the callback, not you. If your new system needs a second look, call (833) 892-8106 for a free estimate, a written price before work starts, and a live arrival time you can track to your door.
Written by the team at Halden Heating & Air Sunrise Manor.